Locations
Locations were previously named 'Rooms' in version 4.0. Locations can be added by clicking on the Locations icon on the Home tab of the ribbon, by double-clicking on the map, or by right-clicking in an item list and selecting Add Location or Add New > Location, depending on the list.
Description
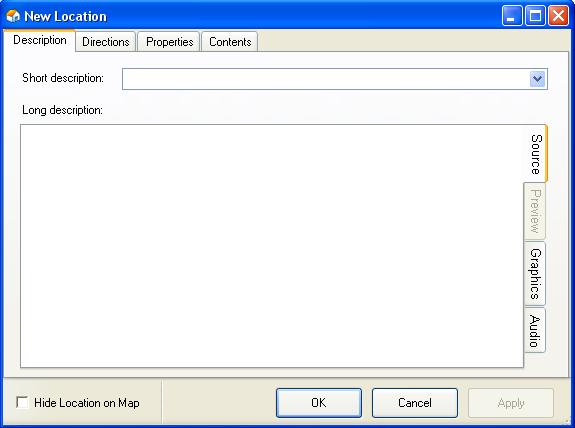
Creating a new location brings up a dialog box as follows:
At a very basic level, locations need two things; a Short description and a Long description.
Short descriptions are essentially a label for the location. These will be displayed on the map, and at the bottom of the screen when playing the game, to show which location you are currently at.
Under most circumstances, the short description of a room will stay the same throughout the game. However, there may be times when you need this to change during play. To do this, click on the down arrow to the right of the short description. This will drop down a source text box, where you can add alternate descriptions depending on different circumstances.
The long description is the text that will be displayed when the player moves into a room, and when they 'look' in the room. Again, you can add alternate descriptions so the text will change depending on what happens during play.
Directions
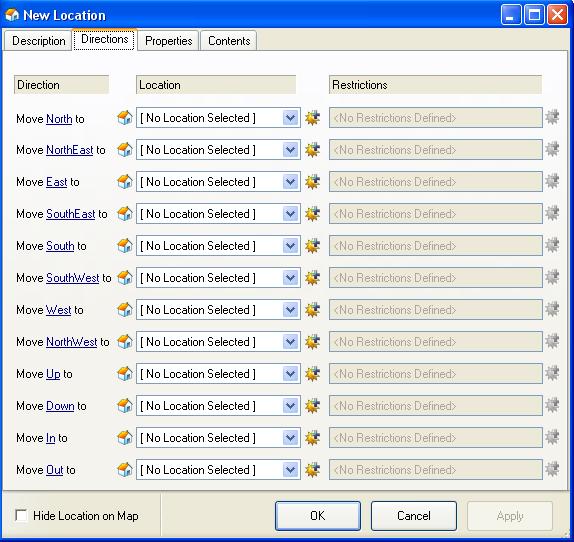
The Directions tab contains a list of each of the 12 possible directions you can move in ADRIFT. By default, each direction displays a dropdown with a list of locations. Picking a location from this list will create one-way link from the current location to the selected location.
When you click OK you will be asked if you want to make the link reciprocal, i.e. you want it to be a 2-way link so that moving in the opposite direction from the selected location will bring you back to the current location. If you check the Remember this setting checkbox and select Yes, the 2-way link will be created every time you link 2 locations. You can change this setting at any time by going to Settings and changing the value for Copy reciprocal links.
Rather than simply move from one location to another, you may want the player to move to a random location when they exit a particular location in a particular direction. To do this, click on the little icon of a house to the left of the location dropdown. This will change the list type from Locations to Groups. Then, instead of selecting a location, you select a location group. During play, the player will be moved to a random location within this group. Simply click on the group icon to toggle the list back to locations.
Once a location or group has been selected, the restrictions dropdown will become enabled. There will be many circumstances where you want to restrict the player from moving in a direction. This might be, for example, a door is closed, the player isn't carrying something, or a task hasn't been completed. To create a restriction, click on the 'new' icon to the right of the restrictions summary. This will bring up the Restrictions form where you can specify whatever restrictions you wish on the movement in that direction. By default, this will add a single restriction. If you wish to add more restrictions, or edit the restriction you just created, click on the 'edit' icon to the right of the restrictions summary. This will bring up the restrictions list form where you can modify your restrictions.
Again, as with the location links themselves, if the link is 2 way (i.e. the location you are linking to also links back to the location you are editing) you will be prompted whether you wish to copy the restriction onto the other location. This is useful if, for example, the restriction is a door. If the door was closed you would not want to be able to move back without it being open! Again, this setting can be remembered, and can be changed in Settings.
Properties
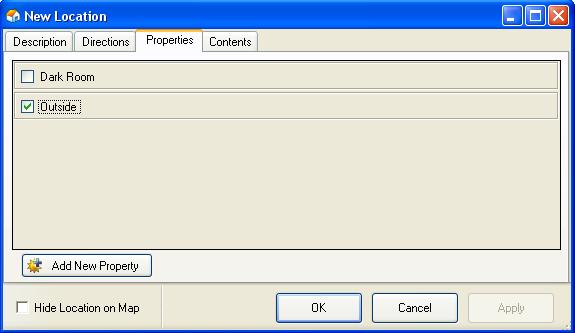
The Properties tab allows you to assign properties to the location. For example, you may want to say a location is a dark room (in which case you might need to have a light source handy to be able to view the location), or you might want to mark the location as being outside (in which case the location might be affected by time of day).
To add a new property, click the Add New Property button at the bottom of the form. This will bring up the New Property dialog box and default it to type Location. Once the property has been applied, it should appear in the list.
Selecting a property will assign it to the current location. Depending on the property type, this may just be a selection only property, or you may need to assign it a value.


