Getting Started
You've installed Adrift, played a few games, and now your ready to write your first adrift game. So where do you start?
The ADRIFT 5 Developer
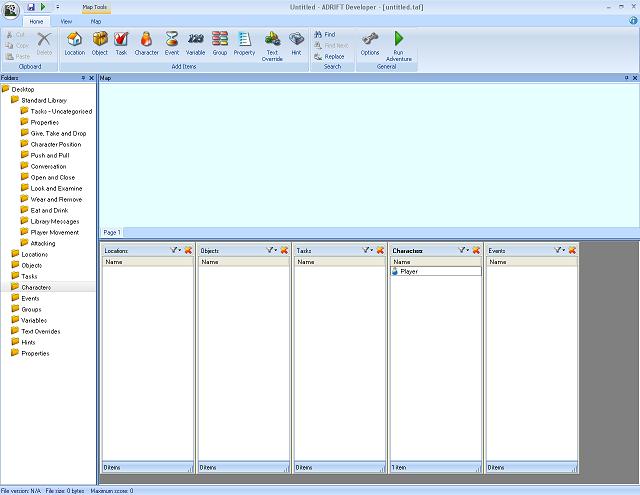
When you open the Adrift developer (dev500.exe for version 5.0) you are greeted with the following screen:
There are 4 main areas on the screen, toolbars & menu's at the top, a hierarchical list of Folders down the left side, a blank window titled 'Map' in the middle, and five small list boxes (Locations, Objects, Tasks, Characters & Events) along the bottom. Only one of these has anything in it, the Characters list contains the entry 'Player'.
This represents the player character in the game and is the only pre-defined item in the game. We will need to create all of the rooms that your Adventure will be set in, and populate them with objects that the player can interact with.
In the Folders window you will notice a small triangle to the left of 'Standard Library':

When you click on it the folders contained within this folder will be shown or hidden. Double-clicking the name 'Standard Library' does the same. Leave it closed for the rest of this tutorial.
Close the 5 list-box windows using the red X in their top-right corner. Now double-click on the 'Locations' folder. The locations list-box has opened again. A folder can contain other folders, like the Standard Library folder, or it contains Adrift items, in which case it opens as a list box at the bottom of the screen.
Your first room
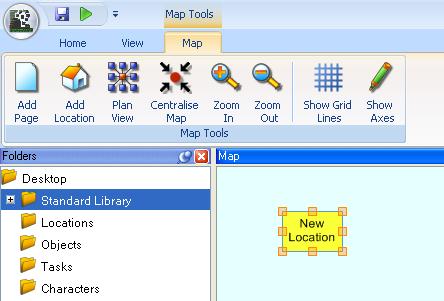
Double-click on the map window to create a location. A new location will be created on the map and as an item in the Locations list.
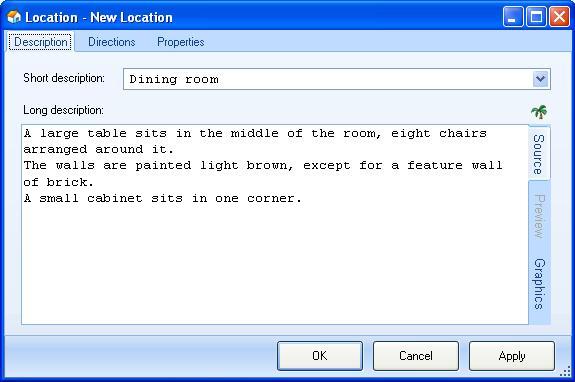
Then double-click either the location on the map or in the list to open the Location editing window. In the short Description field give the room a name, and in the Long Description describe what the room looks like, including any furniture or decorations that the player wont be able to pick up or move. Make sure you include something with a surface like a table, as well as a cabinet or desk that can be opened, as we will be using them in this tutorial.
Objects
Above and to the right of the long description you will see an icon like a small palm tree.![]() This is a button that you can use to create new objects in this room.
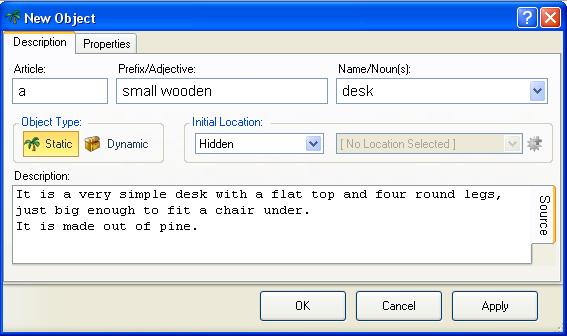
When you click on it the 'New Object' window will open.
The person playing your game will expect to at least be able to examine every object that you mentioned in your room description, so we need to create objects for the table, cabinet and chairs.
This is a button that you can use to create new objects in this room.
When you click on it the 'New Object' window will open.
The person playing your game will expect to at least be able to examine every object that you mentioned in your room description, so we need to create objects for the table, cabinet and chairs.


